User Guide
Welcome to the InstaCRUD User Guide. This documentation will help you understand how to use the InstaCRUD application to manage your business data effectively.
Application Layout
InstaCRUD features a clean, modern interface with the following main areas:
Sidebar Navigation
The sidebar on the left provides access to all application modules:
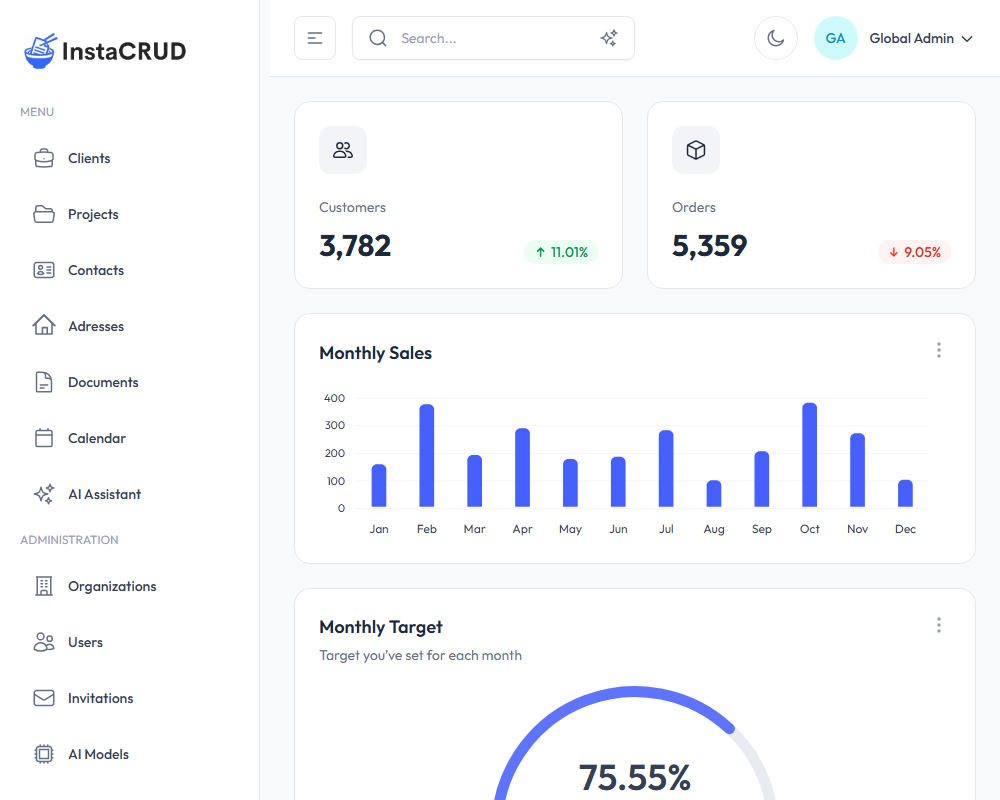
Menu
- Clients - Manage your client organizations
- Projects - Track projects linked to clients
- Contacts - Store contact information for individuals
- Addresses - Manage address records
- Documents - Create and manage project documentation
- Calendar - View and manage scheduled events
- AI Assistant - Chat with AI and generate images
Administration (Admin users only)
- Organizations - Manage tenant organizations
- Users - Create and manage user accounts
- Invitations - Send and track user invitations
- AI Models - Configure AI model settings
- Tiers - Define subscription tiers and usage limits
Header Bar
The header contains:
- Search - Quick search across all entities (supports text and semantic search)
- Theme Toggle - Switch between light and dark modes
- User Menu - Access your profile and sign out
User Roles
InstaCRUD uses role-based access control with three main roles:
| Role | Description | Access Level |
|---|---|---|
| Admin | System administrator | Full access to all features and all organizations |
| Org Admin | Organization administrator | Manage users and data within their organization |
| User | Standard user | Access to assigned resources and basic features |
Common Actions
Throughout the application, you'll find consistent patterns for managing data:
Creating New Records
- Navigate to the desired module (e.g., Clients)
- Click the New button (or similar action button)
- Fill in the required fields in the modal form
- Click Save to create the record
Editing Records
- Click on a record in the list to open its detail view
- Click the Edit button
- Modify the fields as needed
- Click Save to apply changes
Deleting Records
- Locate the record in the list or detail view
- Click the Delete button
- Confirm the deletion when prompted
Searching
- Use the search bar in the header for quick searches
- Toggle between text search and semantic (AI-powered) search
- Click on results to navigate directly to records
Quick Start
- Sign In - Use your credentials to access the application
- Explore the Dashboard - View key metrics and statistics
- Create a Client - Navigate to Clients and add your first client
- Add a Project - Create a project linked to your client
- Use AI Assistant - Try the AI chat for help with tasks
Next Steps
Explore the detailed guides for each module: